

How to Embroider: Whipped Running Stitch- Video and Step by Step Tutorial
- Melissa Galbraith
- 8 hours ago
- 2 min read


Whipped Running Stitch
The whipped running stitch is a variation of the running stitch. This stitch looks like a dashed line with another thread wrapped around it. This stitch can be a fun way to add additional color to line work, used for outlining, plant stems, and more. Use this DIY video and step-by-step tutorial to learn how to embroider the whipped running stitch.
What you'll need to create the whipped running stitch:
Whipped Running Stitch Video
Whipped Running Stitch Step-by-Step Tutorial
1. To create the whipped running stitch you must first know how to stitch the running stitch. Start by stitching a line of running stitches.

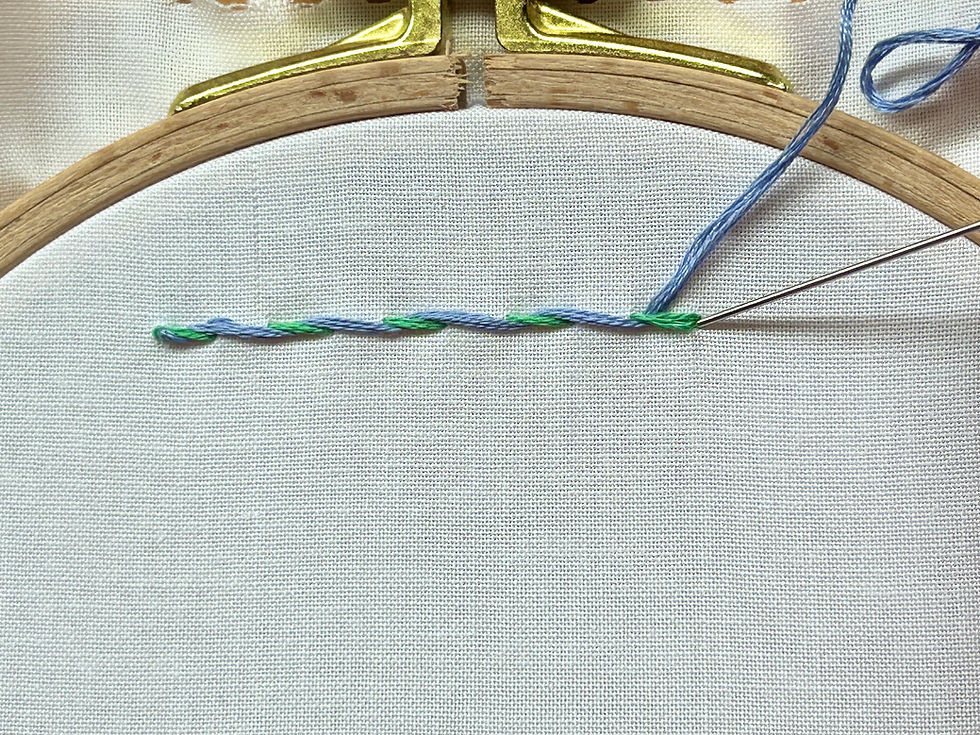
2. Using a second thread, bring the needle up in the start of the first running stitch. Slide the needle underneath the running stitch. Do not catch the fabric.

3. Pull the needle through so that the thread is wrapped around the stitch. Working from the same direction, slide the needle underneath the next running stitch in the row. Repeat until the end of the line.

4. To complete the stitch, insert the needle into the end of the last running stitch.
Looking for more helpful embroidery tips, supplies, and hands-on workshops?


Workshops
Join Melissa Galbraith of MCreativeJ for a hands-on workshop! Melissa makes hand embroidery easy with a wide variety of embroidery classes. Classes are beginner-friendly to advanced and will walk you through a wide variety of stitches, techniques, and designs.
Join a workshop.


Embroidery Books
Want a great hand embroidery reference? Try one of Melissa's hand embroidery books! Each book is great for beginners and breaks down materials, stitches, techniques, and projects for you.
***Thank you for reviewing my recommendations. This post contains affiliate links. Should you purchase an item listed, I may receive a small portion of the sale.***


Comments