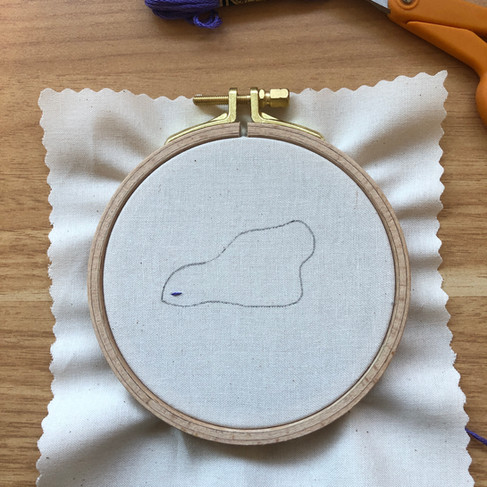
7 Tips for Hand Embroidering a Flat Satin Stitch
- Melissa Galbraith
- Dec 6, 2022
- 2 min read
Updated: Jun 5, 2024

I’ve found that people either love or hate the satin stitch. Getting stitches to lay flat, close together, and even can be challenging.
I enjoy this stitch and have never found it as polarizing as some other stitchers. For those of you that don’t love it or are looking for tips to create a smoother satin stitch, read on.
Tips for Embroidering A Flat Satin Stitch
1. The satin stitch should look the same on the front and the back. While this uses more thread, it also helps keep even tension on the stitches.
2. Tug the thread so that it lays flat on the fabric. If the thread is loose on the front, the satin stitch will be loose. If the fabric is distorted around the stitch, it's too tight.
3. When filling in sections of satin stitch that are next to one another, create a short stitch in the opposing direction to hide the end knot within that space before filling it. This covers the knot and makes it so that you’re less likely to stitch through it on the edges of the satin stitch- especially when adding rows on top of one another.
4. Use the eye of the needle to gently comb any twisted or loose satin stitches flat. The eye of the needle is blunter and less likely to catch on thread or fabric.

5. Use fewer strands of thread. The chunkier the thread the harder it is to lay flat and even with the fabric. Few threads are thinner and easier to pack together. While fewer strands may take longer, the end result is worth it.
6. Make shorter satin stitches. The longer the stitch the more likely it is to pop away from the fabric.
7. Use thread gloss. Thread gloss acts as a conditioner for thread. It helps it stay smoother and less tangled, which also makes it easier to keep your thread smooth and flat on your fabric.
Let me know which tips you found most helpful!
Looking for hand embroidery supplies?


Comments